In this article, I will explain to you how to perform CRUD operation using CodeIgniter with MySql database.
Note: Full CRUD operation will cover by more than one tutorial series. In this, you will learn how to install CI and any HTML template and how to divide HTML theme different views.

What is a CodeIgniter?

CodeIgniter is open source PHP Application Development Framework and CodeIgniter id light wait MVC (Model, View, Controller) based and object-oriented programming PHP framework. Please refer google for more details.

What is a CRUD operations?

CRUD is a short form of create, read, update and delete and mostly used with MySql.

Before start practice first understand all thing about CodeIgniter at https://www.tutorialspoint.com/codeigniter/ they explained all thing very easily in the simple language

Please follow below all steps. Best of luck and if have any questions just write down your comments at below comment section, We will replay you as soon as possible.

Step: 1 Install CodeIgniter

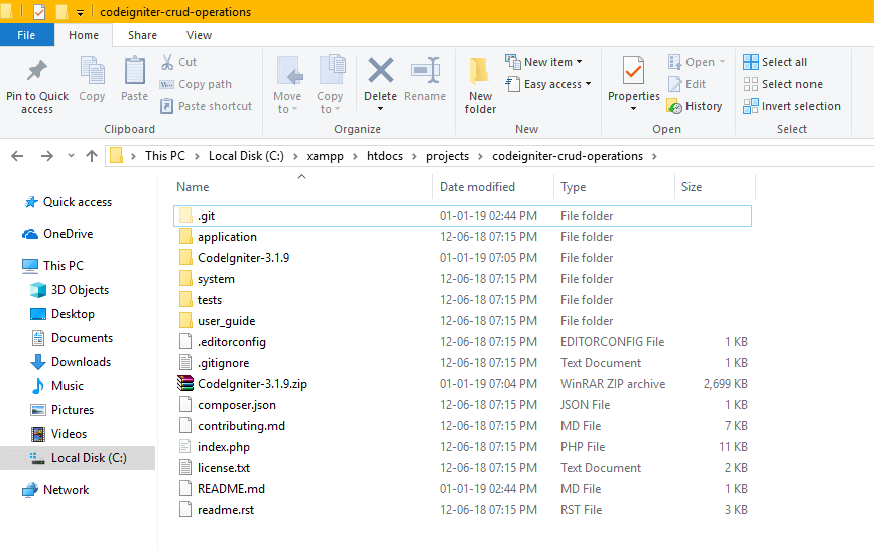
Download latest CodeIgniter form official website and then create a folder (CodeIgniter-crud-operations) and extract zip file at working environment. I am doing at my local computer.


Step 2: Include the bootstrap HTML template in the application

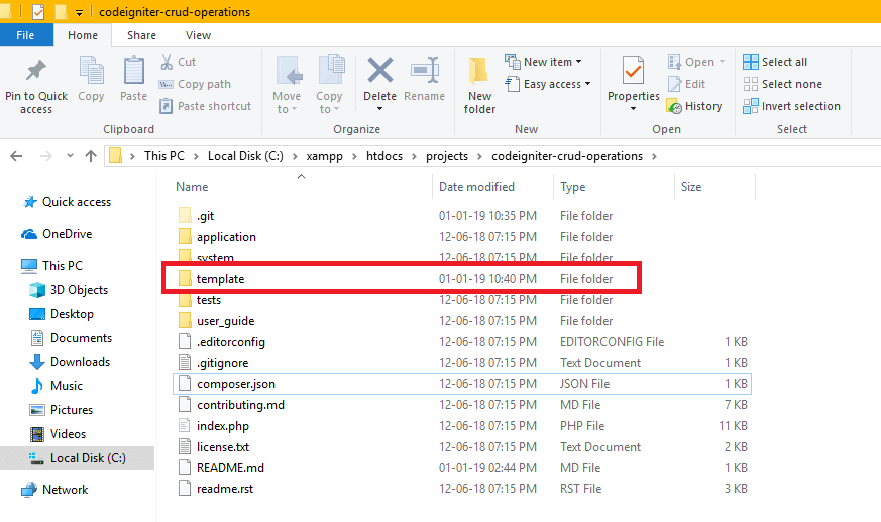
For demo purpose, we are using https://github.com/BlackrockDigital/startbootstrap-heroic-features this free template. Download from GitHub and unzip it and then rename a folder to a template.

bootstrap HTML

Step 3: Set application base URL

For includes jQuery and CSS files need base URL of the application, You can set base URL in file application/config/config.php line number 26

Step 4: Create views

In this step, I will create all views for insert, delete and shows data.

Now I will create a blow views file in following path application/views/ in folders includes and an employee.

4.1 header.php

Don’t forget to add base URL before css link.

4.2 footer.php

4.3 employee_list.php

Step 5: Add URL auto load helper

add URL in autoload helper in the following path application/config/autoload.php

Step 6: Create Controller

In this step, we will create a controller to handle all operation.

Now I will create an Employee.php file in following path application/controllers/.

Step 7: Run application

Open your web browser and run https://localhost/projects/codeigniter-crud-operations/index.php/Employee this URL

you will show a result as per below.

Run application


One of our clients come to us and say that visual composer element does not load in page editor after the update to WordPress 4.8.

When we checked it will show like below image.

Visual Composer

The error I get “$template.get is not a function” in the browser console.

After some time of googling, we got this link and got the solutions.

If you have the same error then please follow listed below steps. My case has Salient them installed on a client’s website.

Step: 1 Open this location themes/salient//wpbakery/js_composer/assets/js/backend/

Step: 2 Then open composer-view.js file

Step: 3 Replace below code at line number 62 and save file

Step:4 Then check your page editor your problem will fix.

Feel free to ask any questions if have.


In this article, I will explain to you how to work with git and bitbucket.  This is a direct practice example for the beginner

Before starting let’s clear what is git and bitbucket, for this please read below some of the best articles

Step: 1 Download Git and install

Download Git  https://git-scm.com/download and then install.

Download Git and install

No need check anything on the installation process just click next on the whole process.

Step: 2 Create an account at Bitbucket

Create an account at https://bitbucket.org

Create an account at Bitbucket

Step:  3 Run Git Bash

Run Git Bash

Step: 4 Git setup command (Only first time of git setup)

  1. git config –global user.name “Name” g (git config –global user.name “yuvrajkhavad”)
  2. git config –global user.email “your email id” g (git config –global user.email “yuvraj@zindex.co.in”)
  3. ssh-keygen
  4. Press enter without entering any file name.
  5. Enter the two-time password then display a newly generated file path. (Note: This password will use for clone project, push project and pull project).
  6. Open file folder mention in git bash and copy the key from those locations
  7. Then add a key in Bitbucket
    1. Log in to Bitbucket.
    2. Go to View Profile
    3. Click on SSH keys and then Add key.
    4. Paste the key into the text box:
    5. Click Add key. You’re done!
  8. Then create a new project repository and copy the project URL because we have to use at step 5.1

Step: 5 then move the folder to the location where you have to clone project

  1. cd c: (Note: Move-in C directory)
  2. cd test/ (Note: Move to a particular folder of your project)

Step: 5 Clone (copy) project in the local computer (Only first time of starting new project)

  1. git clone <git repo url>   e. g (git clone git@bitbucket.org:zindexsolutions/test.git)
  2. Then type “Yes”
  3. Then enter your password

Step: 6 Regular Commands

  1. git status
  2. git add . / -A                                            g (git add .)
  3. git commit -m “<commit message>” g (git commit -m “First Commit”)
  4. git pull origin <branch name> g (git push origin master) It will copy files bitbucket to local
  5. git push origin <branch name> g (git push origin master) It will upload files local to bitbucket account

It’s done. Let me know have any problem happy to help. Just sent mail at yuvraj@zindex.co.in.


Maxer

Happy to inform our first digital item approved on envato.com

It is a static multipurpose business & corporate website template, using our template you can develop a static website for your business.

ULR : https://themeforest.net/item/maxer-multipurpose-business-corporate-html5-template/22578133

About Maxer

Maxer is Multipurpose Business and Creative HTML5 Template. This template includes 39 HTML pages like homepages, blogs, portfolio, contacts and much more. The template is 100% responsive and supports all new and old browsers. All the codes are clean and well organized. Also, provide a color switcher to multiple colors. The user can change color easily. And it’s fully responsive in all devices.

Main Features:

  • Based on Bootstrap 3.3 Framework
  • HTML5 & Css3
  • Based on Sass
  • Jquery
  • 7 Unique Home Pages
  • Total 39 HTML Pages
  • 100% Responsive
  • Clean and Creative Design
  • Pixel Perfect Coding
  • Clean Code with Comments
  • Smooth Scrolling
  • Looks good on Mobile, tablet, and PC
  • Following SEO Rules
  • Validate With W3 Validation
  • Animated Header Effect
  • Sticky Navigation
  • Animated Progressbar
  • Grid Masonry And Portfoli
  • Video pop-up
  • Embed Map
  • Detailed Documentation
  • Great Support
  • Google Fonts
  • Sidebar Menu
  • Checkout and Shipping Options Pages
  • Fully compatible for all major browsers such as Firefox, Safari, Chrome, Internet Explorer 9+
  • And much more….

Congratulation team Z Index Solutions, This is a result of hard work and dedication of our Z Index Solutions Heros.

Inner Banner 1

Inner Banner 3

Inner Banner 4


Recently one of my client’s projects, I have to update WordPress and plugins. At admin panel, there is the update available message but there is no option to update WordPress and there is a no add a new plugin button in the plugin menu. Also, there is no any message plugin update available but there updates. Check attachment for more details.

WordPress 4.9.8 is available! Please do notify the site administrator.

Error message

So checked wp-config.php may be old developer disable updates, but in this files, there is no any code for disabling DISALLOW_FILE_MODS so added below code and working perfectly.

define(‘DISALLOW_FILE_MODS’,false);


Note: Also check may be there set”true”, if yes then write false.


Let’s know need any help. Happy to help.